

It takes a lot of efforts to maintain your garden in a proper and admirable shape. You need to water the plants regularly, remove the weed and other unwanted growth from time to time and you also need to trim the plants in your garden as per the need. There is one thing that can be done to reduce the effort with the watering part and that is the use of a garden hose to water all your garden. Now each garden is different from another one, while some garden may require a smaller hose and the others might require a longer hose. See this garden hose reviews also. The pressure requirements may also vary. You can go ahead and build your own garden hose to meet these custom garden requirements. Here are the detailed steps on how to build a garden hose.
Steps to Build a Garden Hose

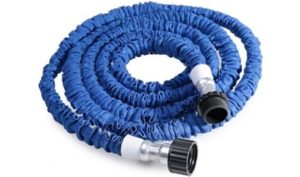
Step 1: To start with, you would need a hose tubing that should be long enough to meet your needs. Once you purchase the hose tubing, you can cut it as per your requirements. We would recommend you to purchase a hose of half an inch if you have a smaller garden. For a mid-size garden, you can use a 5/8 inch hose and for a larger area, opt for 3/4 inch.
Step 2: While cutting, ensure that the cut is straight and use a sharp knife to cut the hose. Using a blunt knife may result in irregular edges and this would certainly be a problem as this causes leakage while you make a connection.
Step 3: Now, you need to attach a coupling to the end of the hose. The easiest way to do is to soak the end of the hose in warm water so that the end softens up and then attach the coupling with help of the soapy water. The soap enables the lubrication which basically helps you in inserting the coupling. Insert the male coupling at one side of the hose and insert the female coupling at the other side of the hose.
Step 4: In this step, you need to knock a clincher finger around the coupling base and we would recommend you to use a hammer to do this. Ensure that the surface is sturdy before you really use a hammer. Repeat this on both sides.
Step 5: Once you hammer the coupling, you are ready to use the hose and you can go ahead and attach one side of the coupling to the faucet. If you notice any type of leakage then tighten the coupling and tighten the clincher finger as well.
Your new garden hose is ready to use and the best part is that you can customize the length as per your requirements.