
If you’ve ever considered starting your own vegetable garden, chances are onions were one of the first crops you considered. But it can be difficult knowing where to start.
Luckily, onions are fairly hardy and easy to grow, with little care needed. Read on for our handy guide on how to grow onions.
Table of Contents
Why Plant Onions?
Onions are a cold season crop, planted in early spring and harvested in fall when tops begin to die back. They are especially easy to grow due to their hardiness and they can tolerate a range of conditions.
On top of that, there are so many varieties to choose from. You can even plant a few different varieties to give yourself a nice selection when it comes time to harvest.
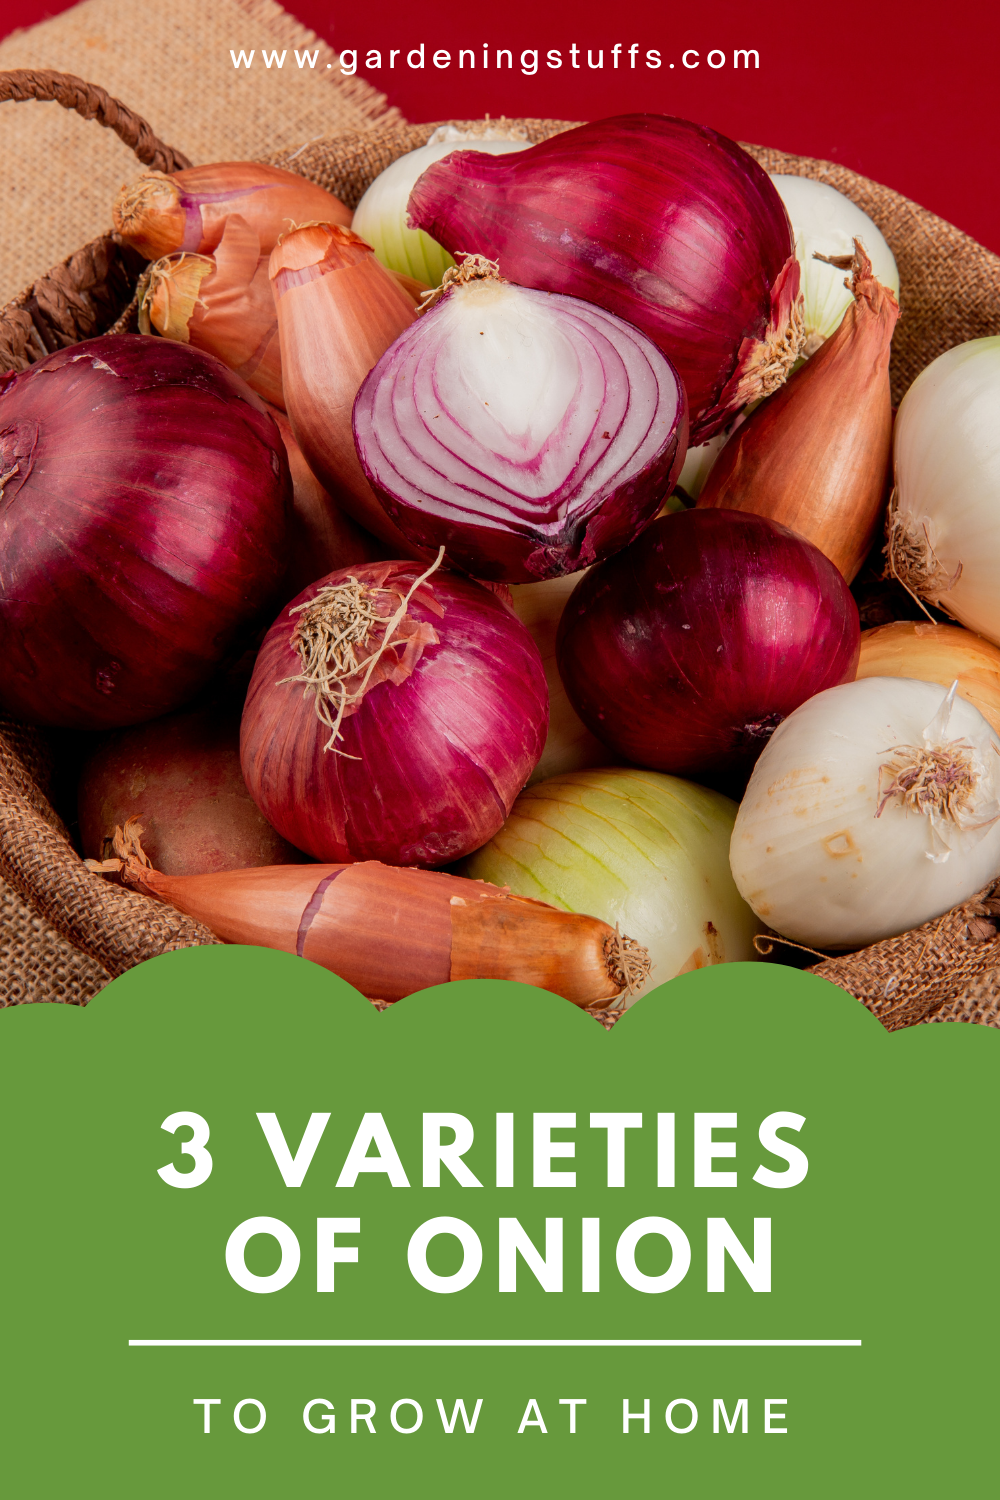
Varieties of Onion
Onions are a photoperiodic plant, meaning they are sensitive to the amount of light they get. Since day length varies depending on where you are in the world, different varieties of onion have been specially bred for different areas to cope with the amount of light they will get there. They fall into three categories: long-day varieties, short-day varieties, and day-neutral varieties.
Long-day varieties are better for cooler climates where the summer days are longer. Some common varieties include the Yellow Globe and Sweet Sandwich, which store well, and the Walla-Walla and Ailsa Craig, which produce large onions.
Short-day varieties are better for warmer climates where the summer days are shorter. Some common varieties include the mild White Bermuda, the sweet Yellow Granex, and the Red Creole, which stores well.
Day-neutral varieties are unaffected by day length and produce an excellent crop regardless of where you are. Some common day-neutral varieties of onion include the mild and sweet Super Star, and the Candy and Red Stockton, both of which store well.
How to Plant Onions
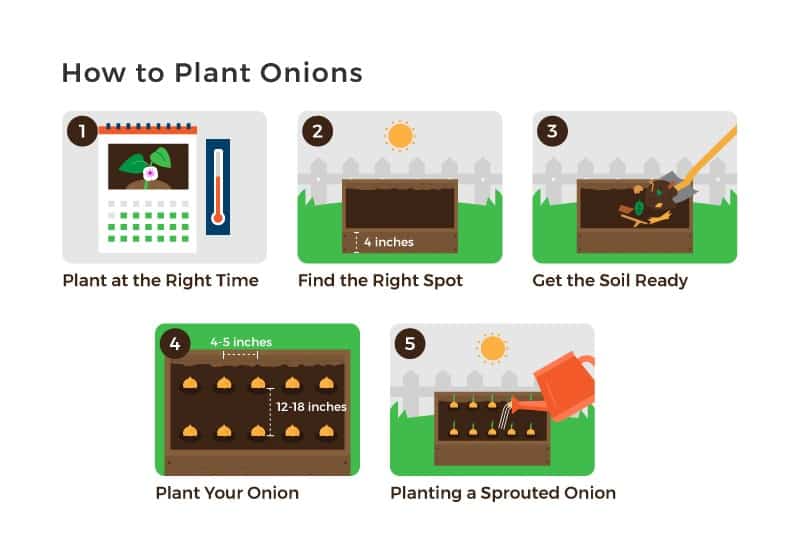
1. Be Ready to Plant at the Right Time
Your onions should be planted as soon as the ground is able to be worked in the spring, usually around late March or early April. But only plant them if you’re sure that the temperature won’t drop below 20°F (-6°C).
2. Find the Right Spot for Your Onions
Location is important. Onions grow well in raised beds that are at least 4” high. They need an unshaded area where they’ll get full sunlight. They also need well-drained soil that is both loose and rich in nitrogen. Compact soil will affect bulb development, meaning you’ll have a less productive crop.
3. Get the Soil Ready for Planting
Before planting your onions, add compost to the soil in the area you intend to grow them. Onion bulbs are heavy feeders and will need this extra nourishment to produce bigger bulbs.
4. Finally, Plant Your Onions
When you’re ready to plant the bulbs, mix in some nitrogen fertiliser. Space the plants 4 to 5” apart in rows that are 12 to 18” apart. Adding some mulch between these rows will help to retain moisture and will stifle weeds. Make sure you don’t bury your bulbs and more than 1” below the soil as they are a shallow-rooted plant.
If you opt to plant them from seed instead, start them indoors first, 6 weeks before you intend to transplant them outside.
5. Planting a Sprouted Onion
Though the bulb may be a little mushy, it is possible to plant a sprouted onion and it will provide plenty of green sprouts for cooking.
Fill a pot with potting soil and make a hole in the middle that is roughly the same size as the onion. Place it in and cover it with the soil, then place the pot in a sunny spot, watering it periodically. Then you can simply harvest the green sprouts as needed.
Caring for Your Onions
Onions are one of the easier crops to care for. They don’t need a lot of watering as just 1” of water a week is enough to maintain them. You can water them more if you want sweeter onions, but make sure you don’t overdo it.
You should fertilise them every few weeks with a nitrogen fertiliser, but then stop once the bulbing process begins and the onions start to push through the soil. Do not re-cover your onions, as the bulb is supposed to emerge like this.
Common Pests and Diseases
While your onions are growing, there are some common problems you’ll need to look out for. If you catch them early, they’ll be a lot easier to fix.
Thrips
Thrips are tiny insects that feed on various plants. They have specialised mouthparts that allow them to puncture plants and their fruits, and suck out the contents.
To check if you have thrips, take a dark piece of paper and tap it against the onion tops. If there are any thrips present, you’ll be able to see them as they will stand out against the paper.
It’s fairly easy to control a thrip infestation, especially if you catch it early. A couple of treatments with an insecticidal soap works. Spray the plants with two treatments, three days apart and this should take care of the infestation.
Onion Maggots
Onion maggots are the larvae of the onion fly, Delia antiqua. They feed on onions, garlic, and other bulbous plants, and they can cause quite a lot of damage.
To prevent these pests from getting to your crop, cover your emerging onions with a fine mesh netting and seal it by mounding soil around the edges. This should prevent the adult flies from laying their eggs on the plants. Also, keep mulch and other decaying matter away from the plants, as this will only attract them.
Rusts and Moulds
Rusts and moulds are fungal diseases that attack plants, and are often caused by warm humid conditions. They are easy to spot due to the damage they cause to the leaves, forming orange-brown bumps along the surface, followed by dark spores.
Rusts and moulds are difficult to treat so it’s best to try and prevent infection from happening in the first place by ensuring your onions are grown under the right conditions. If your plants do become infected, it may be possible to treat them with an anti-fungal spray, though it is important to make sure the one you use is licensed for use onions.
Harvesting Your Onions
Throughout the growing season, you should pull any onions that start to flower, as this means they’ve stopped growing.
Otherwise, when your onions start to mature, the tops will turn yellow and begin to fall over. At this point, bend them down to speed up the final ripening process and loosen the soil around the bulbs to encourage drying. Once the tops turn brown, you can pull the onions.
Ideally, you should be harvesting your onions in late summer, before the cool weather sets in, as mature onions may spoil as it gets colder. Once pulled, you should clip the roots and cut the tops back to 1”. Cure the onions on dry ground for a few days, handling carefully as any bruising will encourage rot.
Allow them to dry for two or three weeks before storing. To do this, spread your onions out on a clean, dry surface in a well-ventilated area. You will notice that the outer skin of the onions becomes crisp just like you would see in store-bought onions.
Finally, you can store your onions at 40 to 50°F (4 to 10°C) with the stems removed and use them as needed.
Final Thoughts
So, now that you know how it’s done, hopefully you’re ready to give it a go for yourself. Onions are a staple in so many dishes and it’s always much more satisfying when you know you’ve grown them yourself.
Once you see for yourself how easy it is to grow your own produce, you won’t want to stop. Could this be the beginning of your vegetable garden?