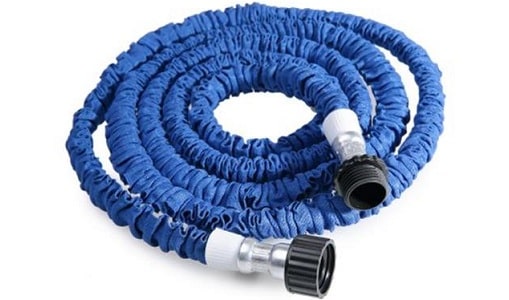
One of the easiest and the best way to increase the life of the garden hose is to store it in a warm and dry area if the temperature in your city gets below the freezing point of the water. This increases the life of the hose significantly by reducing the wear and tear. To use your hose and prevent the wear and tear, you can opt for thermal insulation and the process is quite easy.
In this article, we have listed the process to insulate your garden hose. Let us now look at the complete process.
Steps to Insulate a Garden Hose

Step 1: We will be using thermal insulation foam to insulate the garden hose so to begin the process, you need to measure the length of the garden hose and purchase the thermal insulation foam of the same length. Ensure that the foam is at least 2 inches wider in the diameter or else the purpose won’t
Step 2: Now, you will notice a long slit in this tubular insulation that your purchase. You need to encapsulate the hose in this thermal insulation from one end to another. It is really important to attach the base properly.
Step 3: Once you cover up the hose in the insulation, you will have to tie the strings at several places. You can also use a cable tie to secure the insulation. Use it at the end which is attached to the faucet as well. Ensure that the thermal insulation has been secured properly.
Step 4: In this last step, you just need to wrap the duct tape all around the thermal insulation. This will ensure that this is done in a very firm manner.
You hose is now ready for use in winters and the chunks of ice will not bother you even in extreme temperatures. If you are planning a new one, then check this garden hose reviews from the experts.


