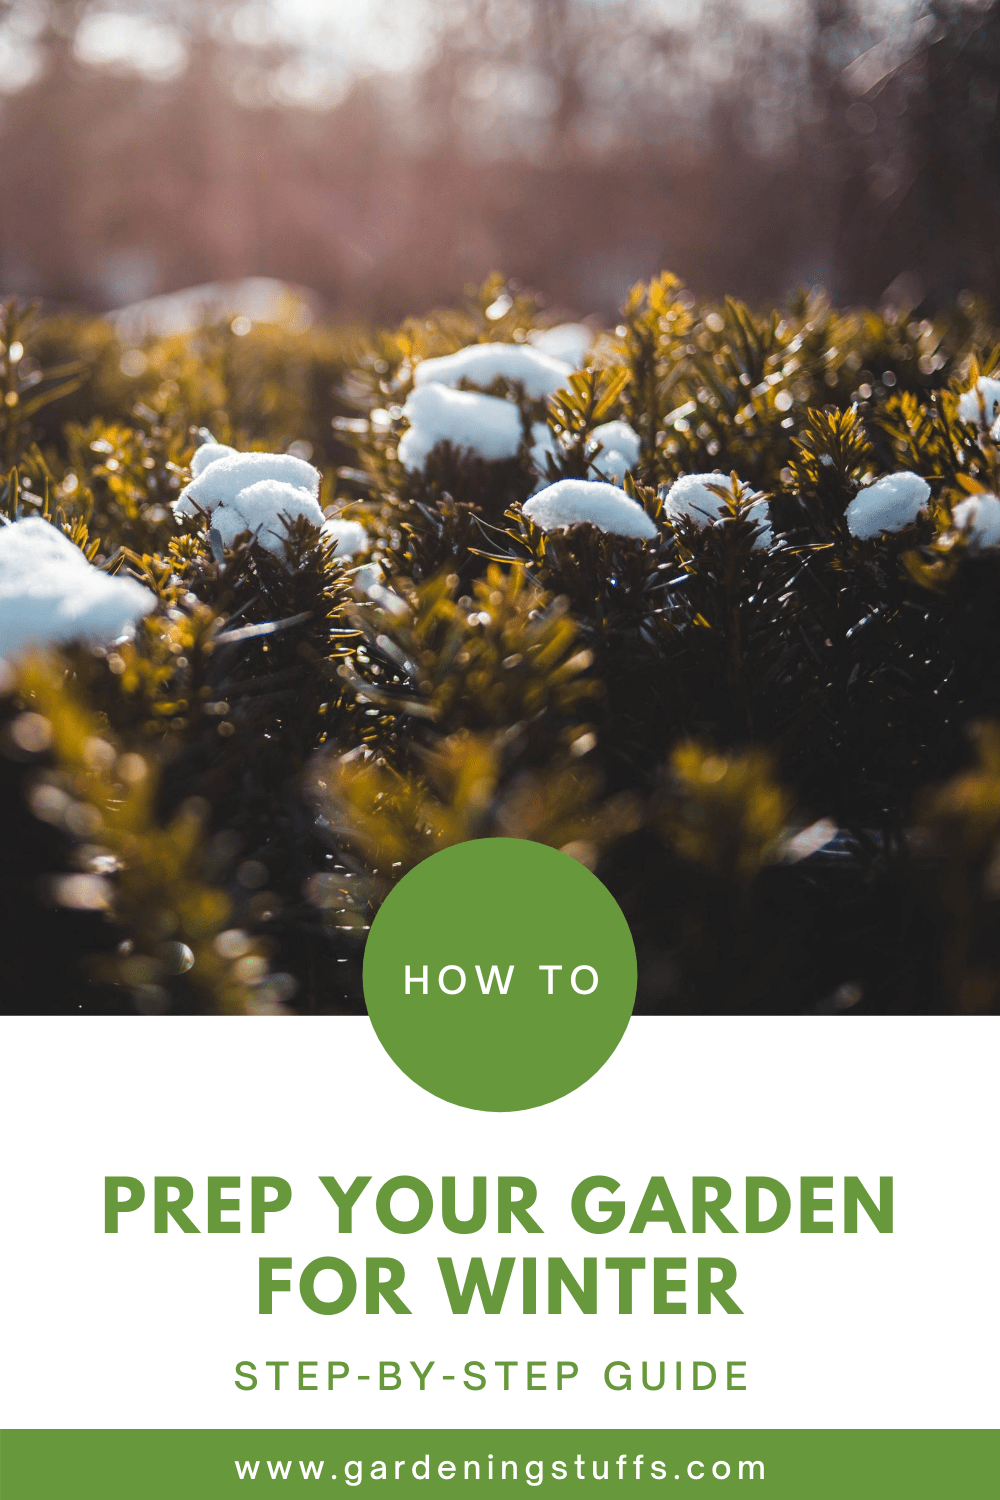

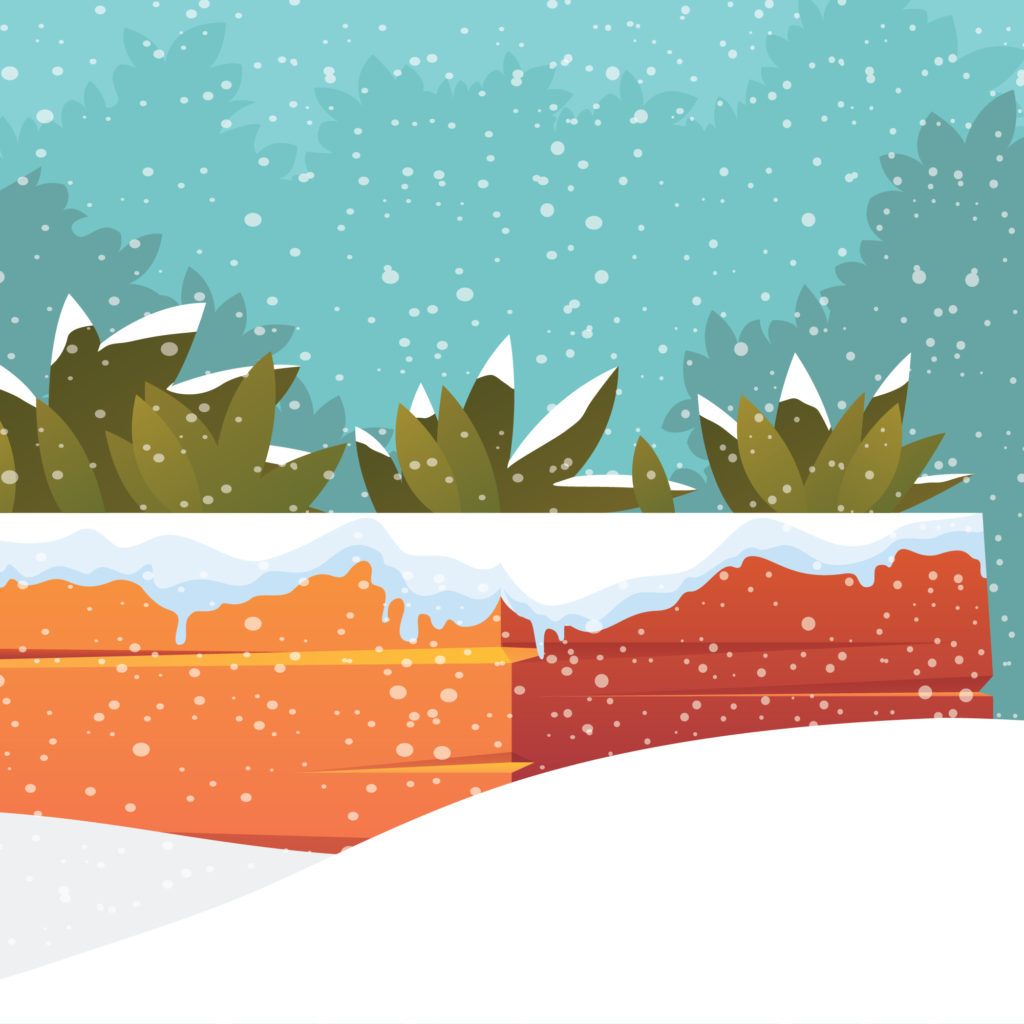
Winter is coming and your annual greens are almost saying goodbye. While you’ve rushed through some spring planting and enjoyed a bountiful summer harvest, you’re now thinking of letting nature take over. It’s the fall after all.
But wouldn’t you want to handle the next spring with so much ease?
Well, if you actually take up a bit of work now, you can save so much effort in the next planting season. Read on to know how you can prep your garden before winter comes, and get ahead of your spring gardening chores while others are still in a frenzy.
Table of Contents
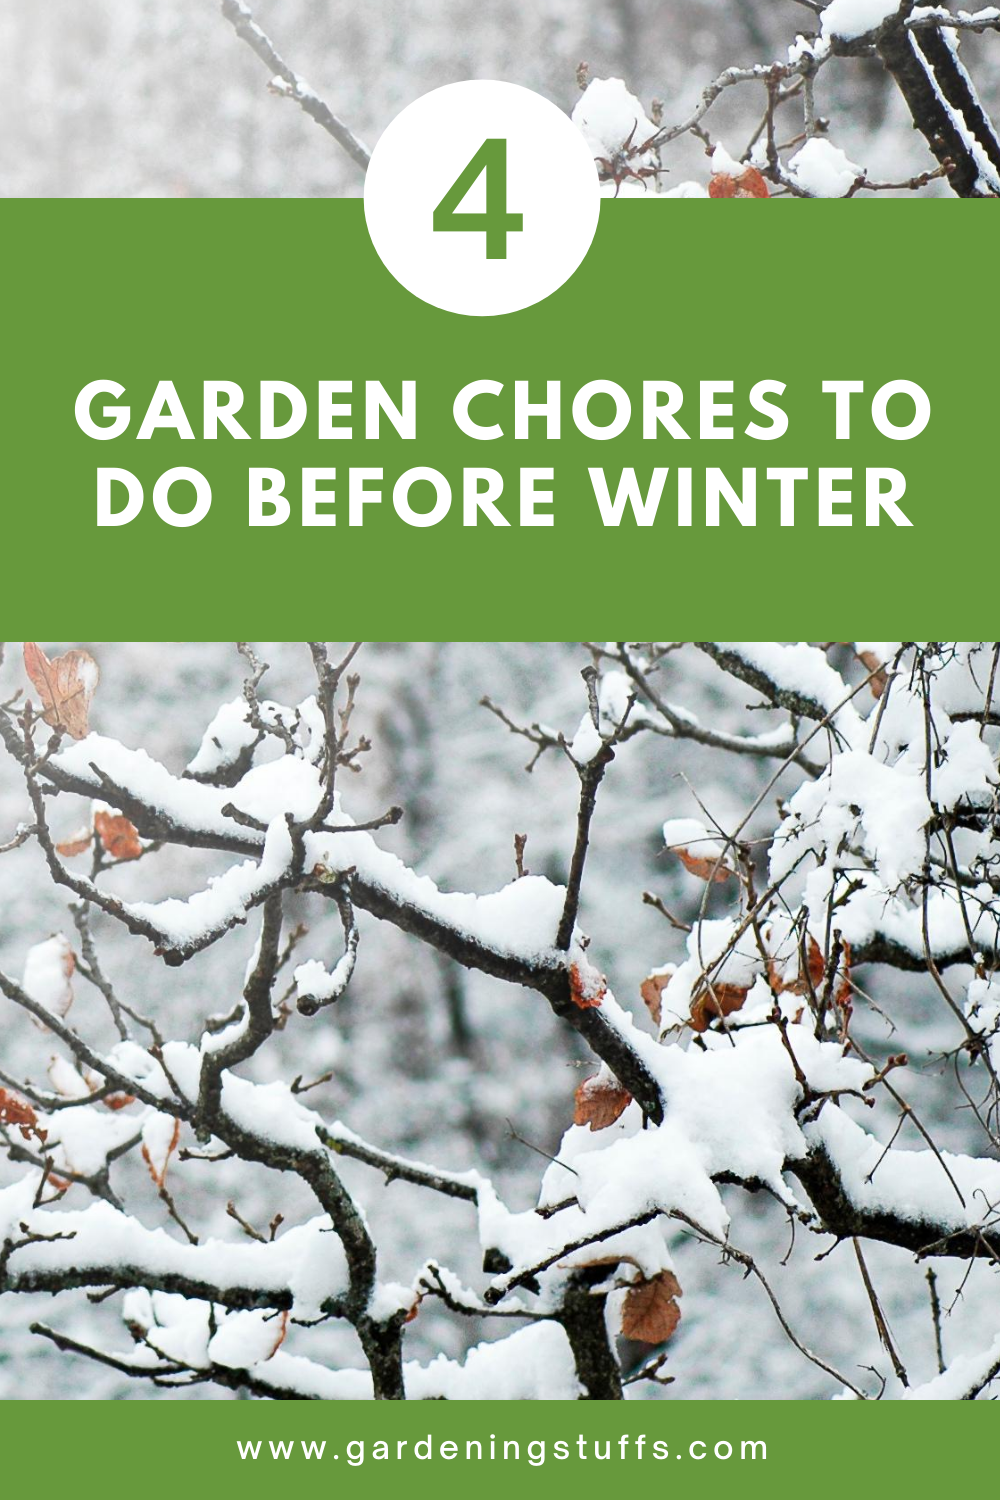
Garden Chores To Do Before Winter
Before you pack up for your own winter cave, you have to secure your garden first. This involves prepping your tools, cleaning up your plants, weeding out, and grooming your soil.
Step 1: Prepare Your Garden Tools
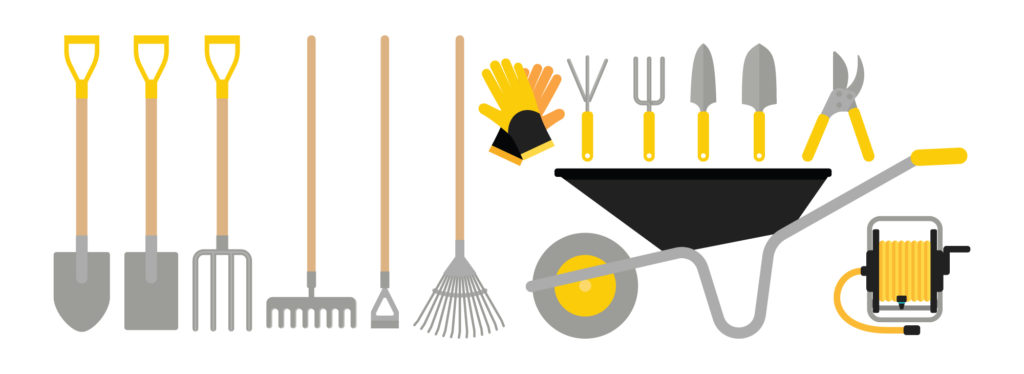
How you maintain and store your garden tools can directly influence their longevity. As wintertime approaches, you need to pay closer attention to cleaning and storing your gardening equipment.
First up, know that you’re going to put your tools down and let them sit for some time as the cold season goes. So, you have to make sure they’ve been perfectly cleaned up and dried.
To be specific, you need to wash off any dirt that has hardened into the blades, the handles, or in any other part. For wooden handles, in particular, you may apply linseed oil, as this can prevent cracking.
For blades and other sharp edges such as those in hedge trimmers, shovels, and pruners, you may need to sharpen them before storing them away for the winter.
If you’re using garden hoses instead of watering cans, you have to drain them. If you don’t, any amount of water that’d be left inside the hoses can freeze. And when water freezes, it expands, putting your hoses at risk of a rupture and consequently, leakage.
Well, if you’ve already got leaky hoses, take time to repair them. And even if you’re just using plastic pesticide sprayers or cans of their sort, you still need to wash them off. The same rule applies to fertilizer spreaders.
Finally, and as always, let all your garden tools dry thoroughly before storing them away.
Step 2: Clean-up Your Plants

Simply leaving your dead or dying plant parts out there in the cold might be very tempting, but it’s not the wisest move. Consider the pests that can “overwinter” or live through the season. Any organic debris you’re leaving out in your garden can actually become some pest’s winter habitat.
So, you have to remove all your dead vegetation and any fruit or vegetable that has already rotten. As long as they’re still healthy (not infested), you can add them to your compost pile. If not, i.e., they’ve got mold or mildew, dispose of them properly into your trash bin. Even better, send them into municipal green waste collections, that is if this service is available in your area.
Step 3: Remove Weeds
Pull all the weeds out. Be sure to dig them up and pull them by the roots. Note that the most invasive of weeds can still be viable if you’re just going to place them in a compost heap or pile them on one side of your garden. So, it’s recommended that you dispose of them in the trash or better yet, burn them.
Step 4: Groom Your Soil For Spring
With the weeds and dying plants out, you can now prepare your ground and enrich it ahead for springtime. Adding in soil amendments during the fall can give them time to break down, making nutrients more readily available as the winter season departs.
Prepare Your Ground
Push aside the existing mulch. Turn over the soil with a garden fork so you can expose and kill the overwintering pests from the underground to the cold.
The winter’s freezing and thawing action can break down any clay soil that your yard may have. This can improve the soil structure, increase its absorption, and enhance its drainage.
Plant Cover Crops
Planting cover crops can keep the soil from eroding. It also helps in retaining nutrients and getting rid of weeds, thus enriching your soil for springtime.
Some examples of cover crops are clover and rye. They can help in breaking up compacted garden soil. Meanwhile, field peas and other legumes can increase the nitrogen levels in your garden beds, thus benefiting your upcoming batch of spring veggies.
To be successful, you need to plant cover crops about one month before the first killing frost in your area. Well, most of them. For hardier crops, you may want to consult your seed provider so you’d know the best time for planting a cover crop in your zone.
Restore Your Compost
Add a layer of finished compost to your garden beds. About 1 to 2 inches of it will do.
Meanwhile, you should also take time to enrich your compile pile. As I’ve said above, you can throw the uninfected, pruned foliage among the composting matter.
Just make sure you’d cover the bin or pile with a tarp to keep it warm inside and let the composting process proceed despite the temperature drop outside.
To keep the pile moist, you can soak it with water. Then you may add some straw or leaves on the top to provide proper insulation.
Replenish Mulch
Cover the garden bed with the old mulch you’ve initially set aside. Just note that if you put in too much mulch, you could keep the soil from freezing completely. But freezing can actually kill many pests and diseases.
So, you may refrain from adding more mulch until the ground has frozen. When it does, you can place an additional layer to your perennial plants.
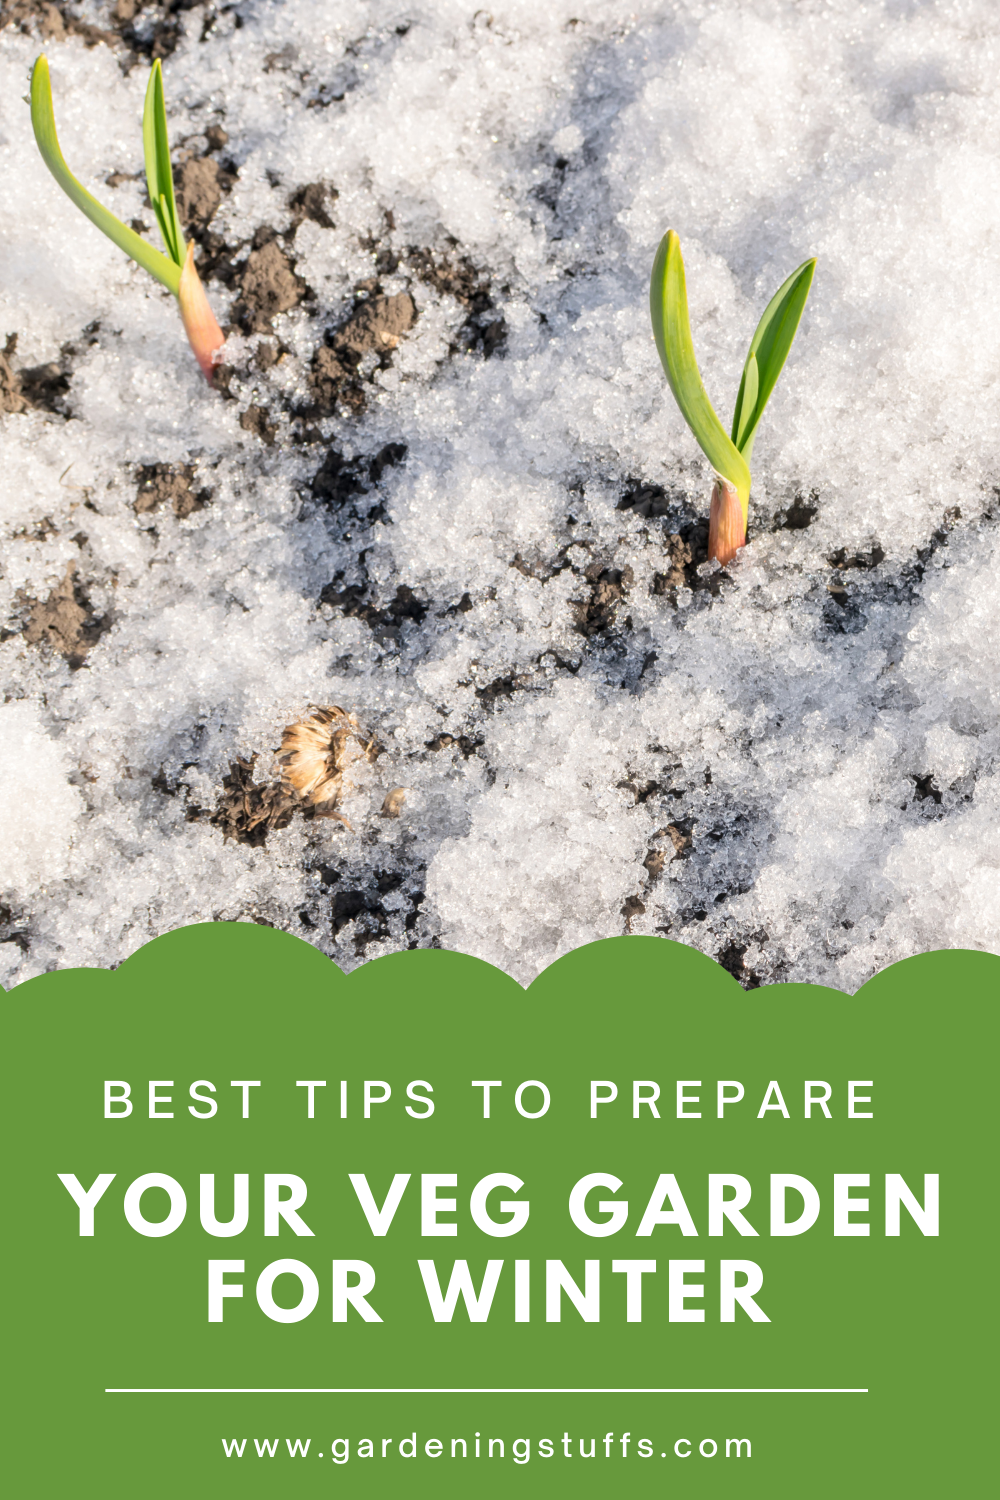
Prepare Your Vegetables
Different kinds of vegetables react differently to the cold season. When preparing your garden veggies for the wintertime, keep in mind that some of them are quite hardy, but many of them are delicate and quite tender.
Tender Seedlings
If you have tender seedlings in your vegetable garden, you might need to cover them. Most fall veggies can survive through temperatures around 28°F. And yet, they might still suffer from a little tissue damage. In that case, covering your crops with a few blankets will help them survive even better through the night.
In the daytime, though, the temperature may rise. If it’s already above freezing, then you have to remove the blankets. You don’t want to accumulate excessive heat beneath these covers.
If you’ve chosen to use plastic covers, you’ll need to be more vigilant about removing them when the temperature rises. Plastic can keep in more heat, and if the sun hits it and it’s still covering your plants, your greens could get cooked.
Root Crops
Root crops such as turnips, rutabagas, parsnips, carrots, and beets may stay in the garden after a frost. You can remove them later and even find them in good condition. But, we recommend that you dig your root crops and store them before the ground gets frozen.
Potatoes, in particular, need to be dug and not left on the surface of your garden soil. You have to get them to a dry and warm area—just not directly exposed to the sun. By preparing potatoes this way, you’re allowing their skin to toughen up and you’re getting them ready for storage.
You may dry potatoes in a single layer, and turn them over occasionally. Give the process two weeks, and then remove soil and dirt. Just don’t wash them with water so their skin could toughen even better, allowing for longer storage.
As for other crops like parsnips, note that allowing them to mature for 2 to 4 weeks at cold (almost freezing) temperatures can actually make them taste better.
Leafy Greens
Some leafy greens like collards and kale can also taste better—even sweeter—if you expose them to a light frost.
Others, like the Swiss chard and most cabbages, can survive through light frosts, and yet their outermost leaves could be destroyed. But they’re okay; you just have to peel off the outer parts before preparing these greens for dinner.
Still, some leafy veggies such as lettuces are rather weak against frosts. They will wilt if you leave them outside.
Other Vegetables
Pumpkins, peas, tomatoes, zucchini, beans, and other vegetables need to be pulled up and sadly, they had to be disposed of. They just can’t survive the freezing cold.
Just one good news: you can compost them if they’re healthy. But if these veggies breed disease, make sure you’re not letting them infect the rest of your compost pile. It’d be best to throw them into the trash along with the stakes or supports that might have also been contaminated.
Prepare Your Herbs
A few culinary herbs, especially the hard ones, can overwinter outdoors while in their pots. Though tender, they can survive temperatures below 30°F.
Sage, in particular, is actually a perennial. In most zones, this herb doesn’t need to be guarded through the wintertime.
Meanwhile, chives are hardy perennials. You can save a clump into a pot, then let it’s foliage die and freeze. Wait for several weeks before bringing the potted chives indoors. Place it where it can still catch some sun, and make sure to water it so you can still harvest some throughout the cold season.
Another perennial that doesn’t get easily destroyed is thyme. It will just go through a dormancy stage during the fall and then revive naturally as springtime comes.
As for oregano, it’s a perennial that’s only somewhat hardy. So, it would do well for you to protect it using some straw mulch.
Other herbs like parsley are biennials. They can withstand some light frost, but you should cover them during the night in case the temperature drops. For a tender annual herb like basil, you’d have to bring a few of them from outside, and nurture them indoors to extend their life.
Prepare Your Berries
Most berries are hardy, but they still need some care and preparation for the winter.
Summer-bearing raspberries, for instance, need to be pruned. Do this during early to mid-fall, making sure that you’re leaving six brown canes (choose the strongest ones) for every foot.
As for fall-bearing raspberries, you have to prune them vigorously. After bearing fruit, they need to be cut down even to the ground.
If you’ve got strawberries, you have to layer their beds with straw mulch.
Most blueberries, on the other hand, are hardy. And yet, it still helps to mulch around their base.
Finally, you can go ahead and plant your blackberries while it’s still autumn. Just protect them from frost heaving by mounding up soil around the canes.
Prepare Your Trees and Shrubs
Your trees and shrubs can survive the winter if you pamper them enough. The general principle is to give your evergreens and deciduous trees a lot of water before the ground gets frozen.
Once the ground freezes, you should work on keeping moisture in the soil. You can do this by spreading organic material over the frozen ground. Layers of chopped leaves of 6 inches thick can do the job well. By laying a natural cover, you can also protect your trees’ roots from both freezing and thawing.
With trees and shrubs, however, a freezing ground won’t be your only concern. Your trees may already have some damaged or broken branches. Then there’s the wind and snow, which could work together to bring further damage to the rest of your garden.
Well, you can prevent the worst of cases by trimming away the diseased or damaged limbs before the winds would.
If you have evergreens, you can give them protection through shade cloth shelters or by using burlap screens.
Prepare Your Annuals
Annuals are plants that live only for one season. You can classify them into two: warm-season or summer annuals and cool-season or winter annuals.
Summer Annuals
Summer annuals like to grow under hot temperatures. These include French marigolds, impatiens, and Zinnias.
Winter Annuals
Winter annuals prefer to bloom in cooler temperatures. Some examples are snapdragons, blue lobelia, and ornamental kale.
You may “winterize” both types of annuals by covering them in times of light frosts. A poly-spun garden fabric should do.
For potted annuals, you may move them to your garage or anywhere enclosed, especially if the nighttime temperatures are forecasted to go down into around 40°F.
Prepare Your Perennials
Perennials are the kinds of plants that return year after year—as long as they are “hardy” in your zone. Note that each perennial species has a particular way of handling the cold season. If your perennial plant is rated as “hardy” in your area, there’s not much that you’re required to do to prepare it for winter.
If you’re unsure though, you can refer to the USDA Plant Hardiness Zone Map. This should provide you with information as to which plants can most likely thrive at your location.
In zones where there’s a lot of freezing and frost heaving, plants can be pushed out of the ground. You can prevent this by adding a layer of mulch up to 6 inches thick after the ground has frozen. You may use straw or chopped leaves.
Many perennials, however, are unable to handle even a light frost. Some people won’t bother saving them and just let them die by wintertime. But, if you want to save your tender, potted perennials, then move them into your garage or inside your house.
Occasionally, when the weather warms a little, you can just take the perennials out. A week or two of exposure to the cold (but not too cold) will allow your plants to adapt to changes in weather conditions. It’s called acclimatization.
Prepare Your Bulbs
Bulbs can be tender or hardy. In the fall, it’s typical to plant the hardy ones, especially those that bloom in the spring. But tender bulbs won’t be able to survive underneath a frozen ground. These include cannas, gladiolus, and dahlias, which all bloom in the summer.
The good news is you can save these tender bulbs for one year more. Due to the frost, their leaves will turn brown. When this happens, you can dig them up gently, and then cut their leaves.
Remove the excess soil by brushing up the bulbs, but make sure you’re not washing them with water. If you do, the dampness could rot them while in storage.
Just place the bulbs in a cool area and let them dry for a week. Then, store them in a container that’s breathable—a cardboard box would be good enough.
It’s important, by the way, that the bulbs don’t touch each other. To make sure it doesn’t happen, you may place straw in between the bulbs, or simply cover each piece with an old newspaper.
Lastly, bring the container to your basement, garage, or some other place where you can keep the temperature below 45°F but not get it freezing.
Protect Your Roses
Methods of winterizing roses vary according to where you live. What’s common among these methods is the removal of foliage, especially on the base of the plant and all around it. This way, you’re keeping foliar diseases from surviving through the wintertime and getting back to attack as the growing season comes.
You should also prune out those branches that have already started to decay. If you notice any part that has bred insects, you should cut it out as well.
To add more protection, spray your roses and the soil beneath with fungicide. Add a heap of topsoil, compost, or mulch to further protect the graft against the freezing temperature. This should keep the root balls from frost heaving.
If you’re living in Zone 6 or somewhere else colder, it would be well to add 6 to 12 inches of mulch, leaves, or straw. You can secure these add-ons using chicken wire.
It’s Going To Be Worth It
Preparing your garden for the winter may seem like an overwhelming task—especially if your yard is complete with all kinds of plants. Berries, root crops, leafy greens, flowering perennials, and some annuals—name it.
But winterizing your garden will definitely ensure that it stays in tip-top shape by the time winter is over.
Put yourself to work now, and you will be rewarded with a much more enriched soil as the next springtime begins.