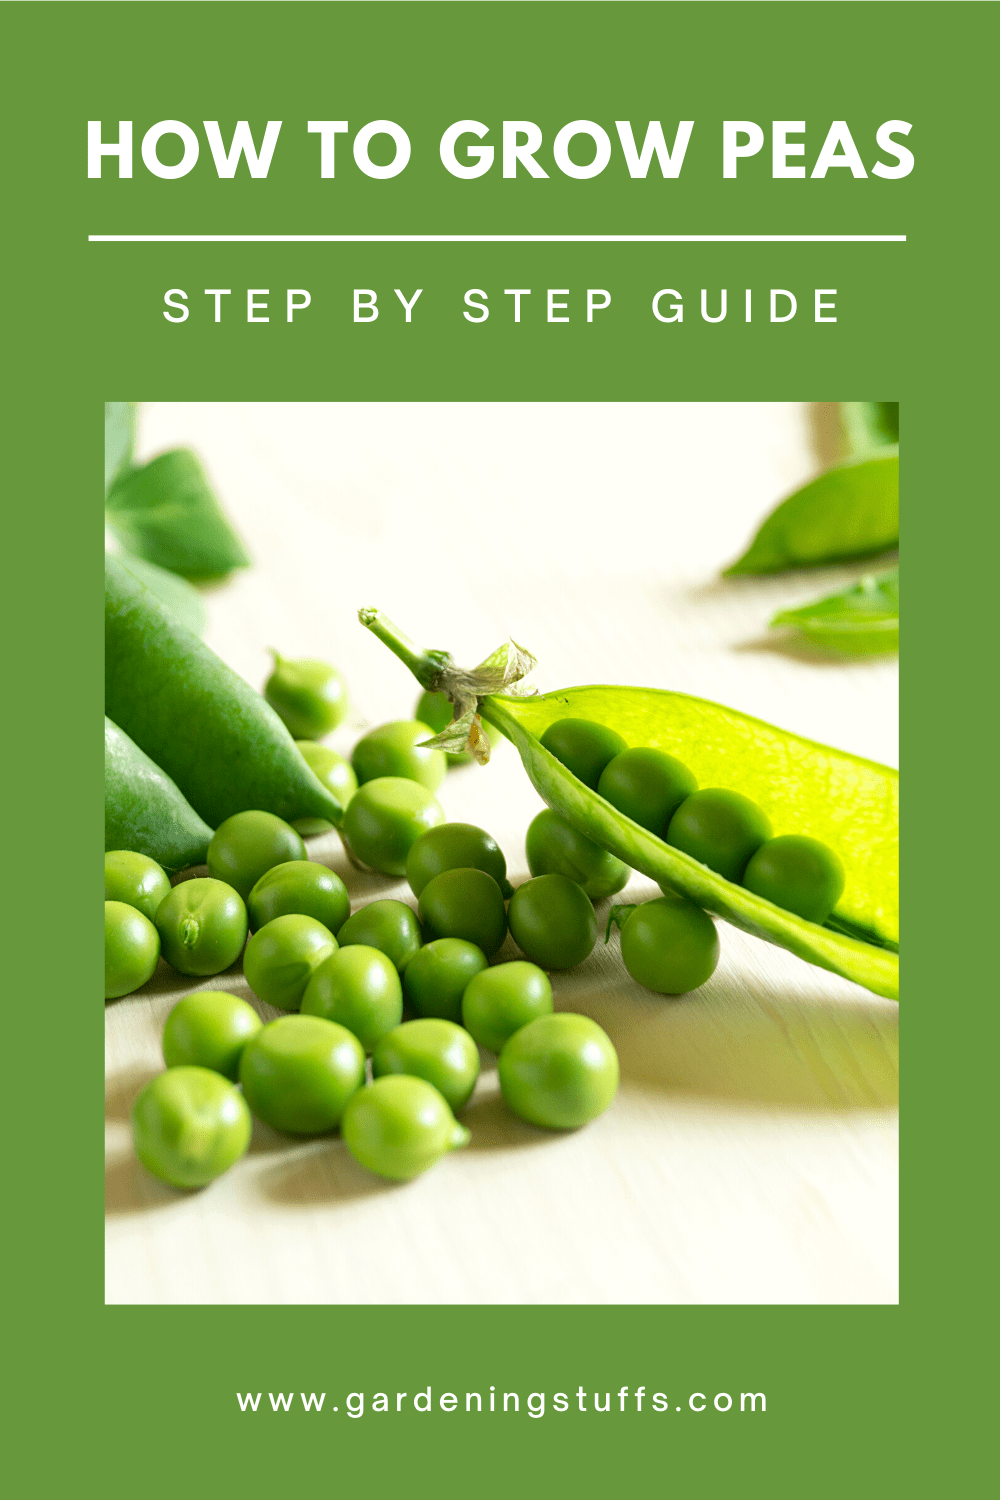

If you’ve ever tried fresh peas from the pod, you’ll know they’re beyond anything you could find in a can. You may have even considered growing some for yourself to produce your own supply of crisp, tasty peas.
But, when growing anything new, it can be tough knowing where to start. Luckily, I can tell you from experience, pea plants are really easy to grow and care for. Read on to learn how to start a pea crop of your very own.
Table of Contents
Where To Buy Pea Seeds?
We recommend Seeds Now because they support the safe seed pledge and offer 100% open-pollinated seeds.
100% Heirloom/Non-Hybrid/Non-GMO, Seeds Now are full supporters of Safe Seed Pledge.
All seeds are pure heirloom non-hybridized varieties free from genetic engineering.
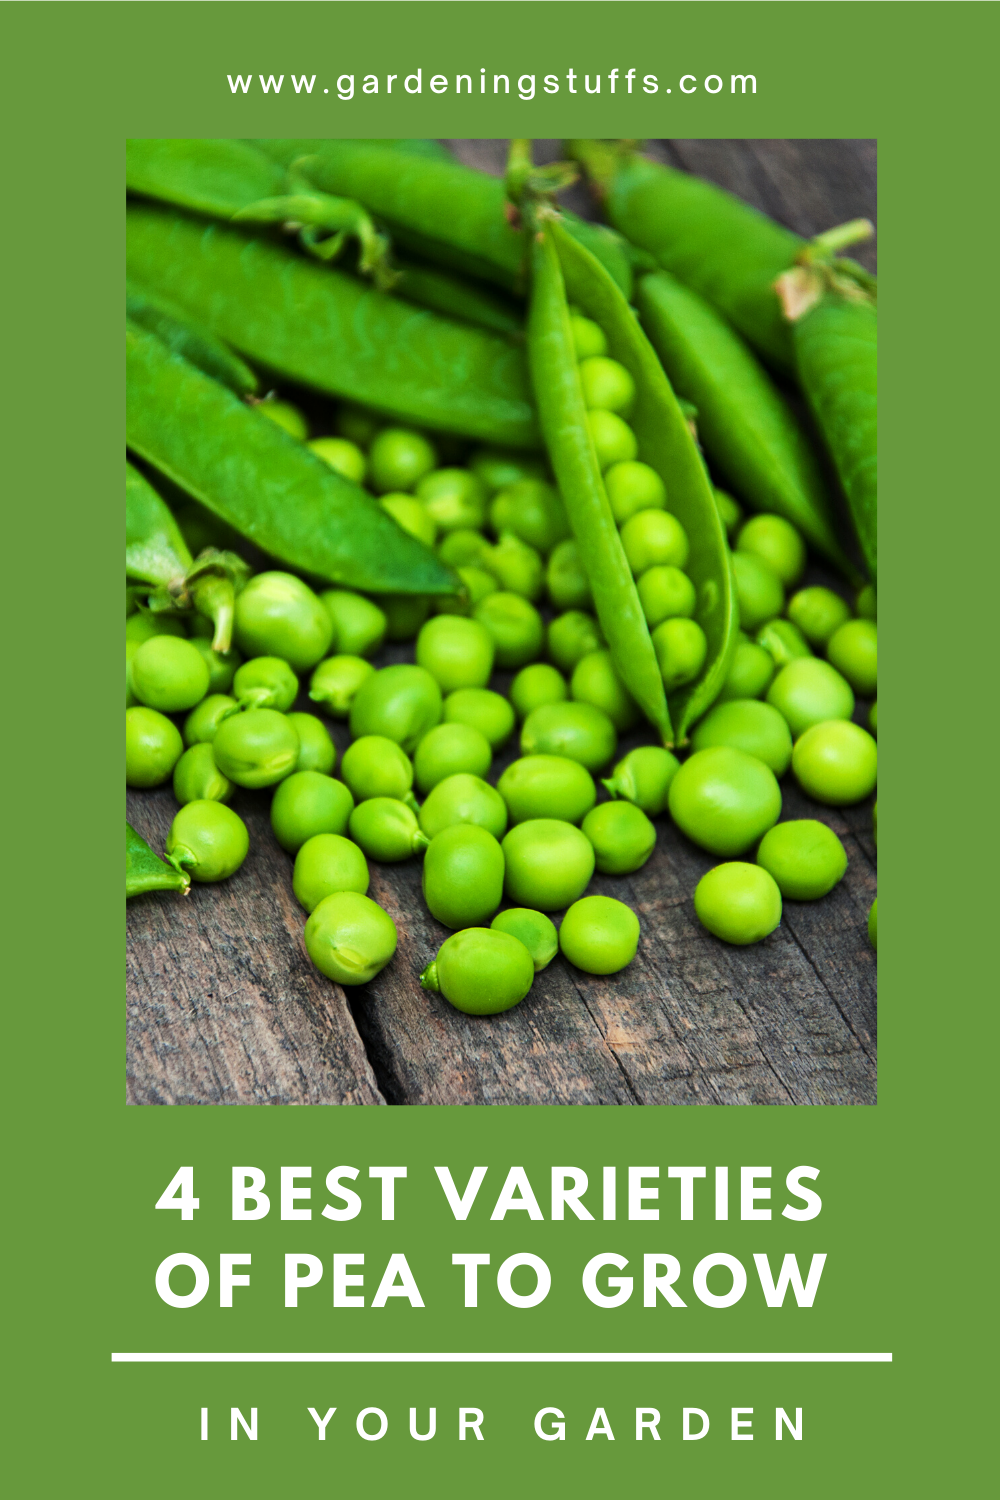
Best Varieties to Grow at Home
There are a number of different options if you plan to start growing peas in your garden. But some of the more common varieties are usually better for beginners due to their ease of care.

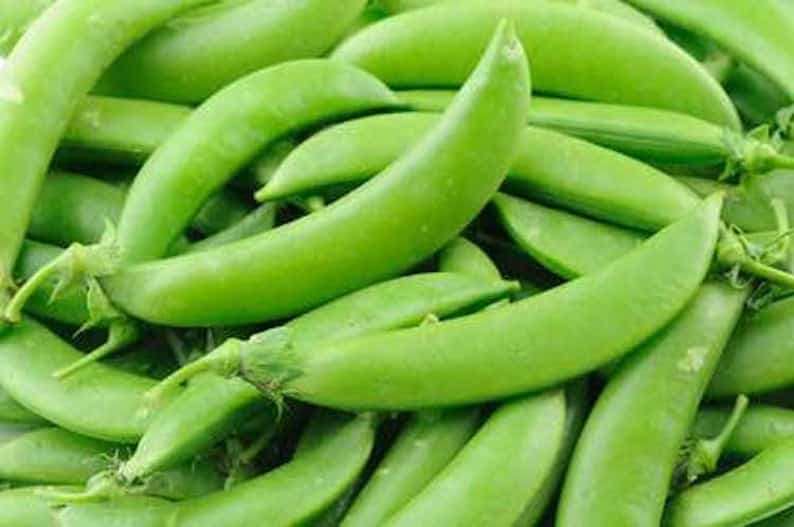
Canoe peas, as the name suggests, produce long, curved pods that resemble a canoe. They yield very tender, sweet-tasting peas.
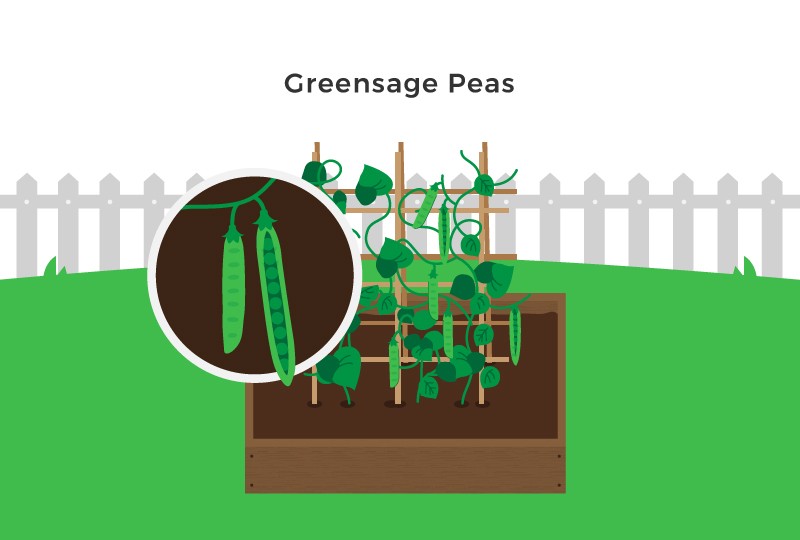
Greensage peas are a heavy cropper, giving a high yield of sweet, tender peas.
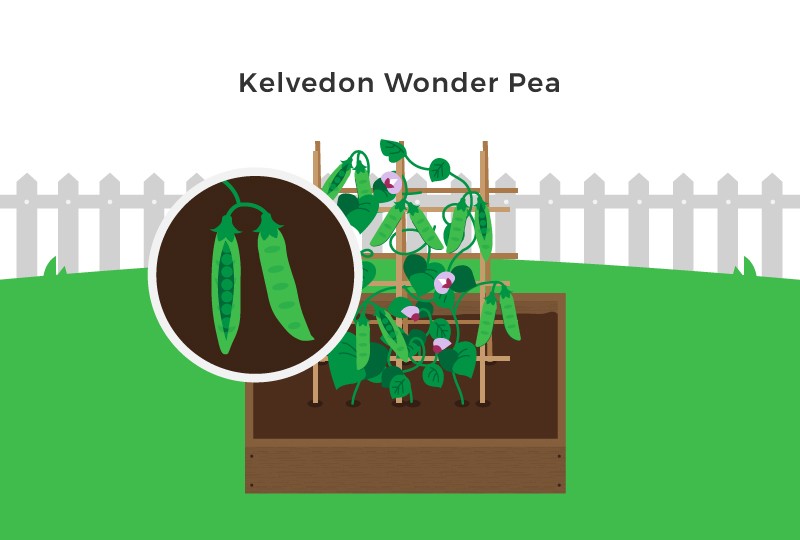
Kelvedon Wonder is an early, dwarf pea variety. They produce sweet, tender peas and, again, give a high yield.
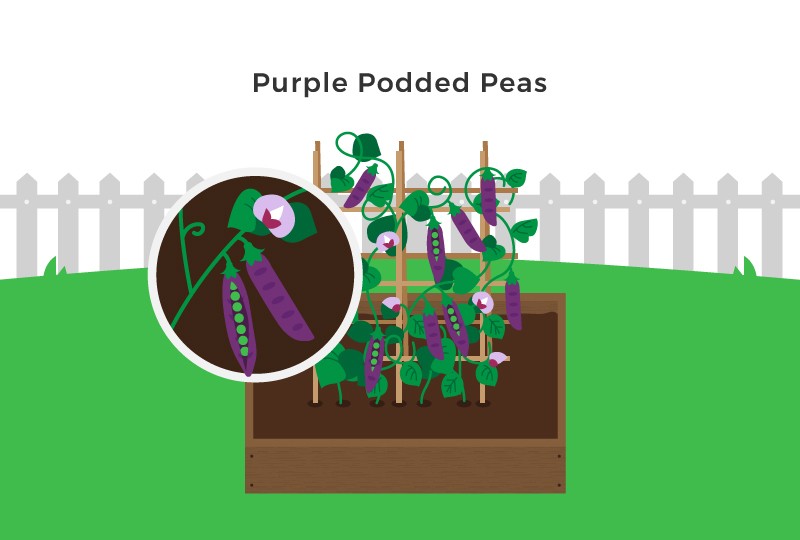
Purple podded peas are an unusual variety, with their striking, purple pods. They produce medium-sweet peas but, as a heritage variety, they are a little more difficult to find.
100% Heirloom/Non-Hybrid/Non-GMO, Seeds Now are full supporters of Safe Seed Pledge.
All seeds are pure heirloom non-hybridized varieties free from genetic engineering.
How To Grow Peas: Step By Step
Let’s now go through the 3 steps it takes to plant, care for and harvest your peas.
Step 1: How to Plant Peas
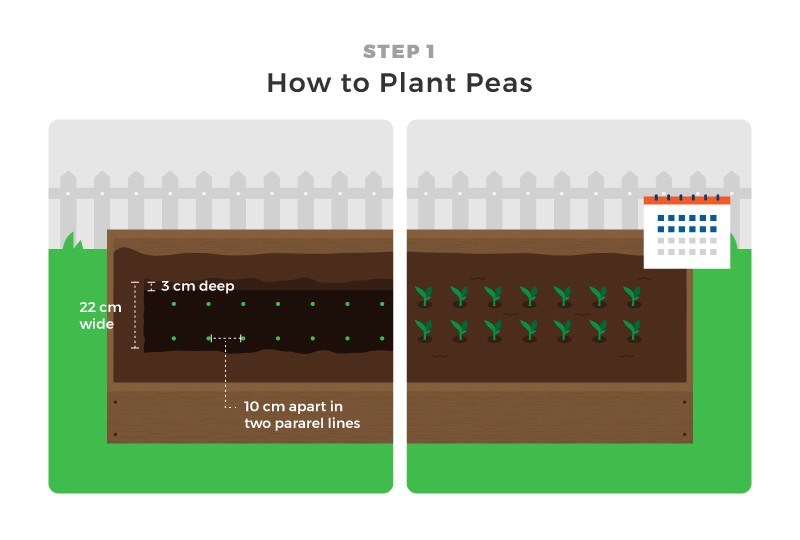
Most varieties of pea should be planted between March and June for a summer harvest.
You should plant them in a sunny, well-drained spot, as pea plants dislike cold, wet soil and won’t grow well in these conditions. Before planting, you should mix plenty of compost into the soil in preparation so that it will have the nutrients that your pea plants need.
When planting, make a shallow trench in the soil that is roughly 22 cm wide and 3 cm deep. Plant the seeds about 10 cm apart in two parallel lines, cover them with soil, and water them well. The seedlings should emerge within two weeks.
Step 2: Caring for Your Peas
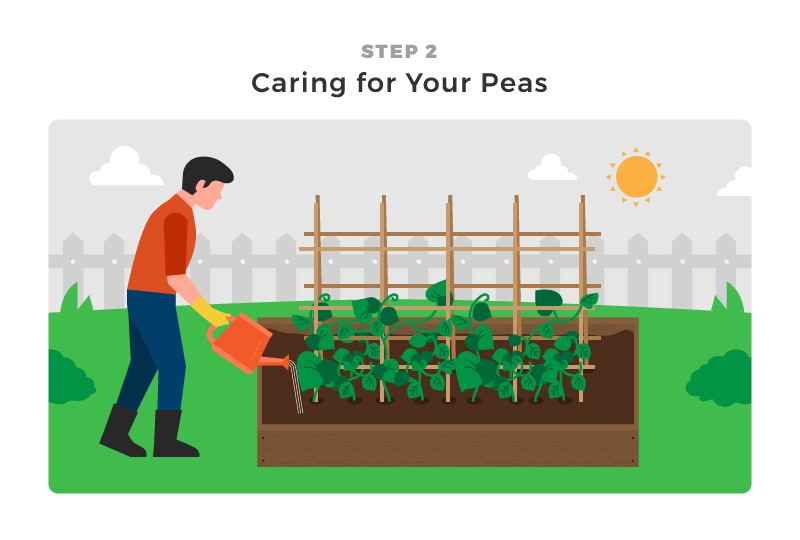
Pea plants don’t need a lot of specialist care. They should be watered deeply once a week, but may need more frequent watering if it’s particularly hot out. Never allow the soil to dry out completely as this will seriously reduce your pea yield.
While the pea plants are still young, it may be helpful to put in supports to stop them from flopping over. Just make sure these supports are thin enough that the plant’s tendrils can wrap around them.
Common Pests of Pea Plants
There are just a few problems to be on the look-out for while your pea plants are growing.
Pea Moth
Pea moths can lead to an infestation of their maggot-like larvae. Not only do they look unpleasant, but they will also eat all your peas, and damage the plants while they’re at it.
Planting your peas early in October to February can reduce this risk, as the moths won’t be reproducing during these colder months. Alternatively, you can cover your seedlings with a fine mesh or horticultural fleece as soon as they emerge to prevent moths from getting in.
Slugs
Slugs are a common problem in any garden, but it’s especially frustrating when you’re trying to grow your own produce and these pests get to your crop first.
If you suspect that slugs are getting to your peas, there are a number of things you can try. Slugs and snails are repelled by copper as it reacts badly with their mucous, so copper rings can be used as a protective barrier around plants. Creating a barrier with a gritty substance, such as sand or crushed eggshells, is another tried and true method. Or, if you don’t mind using chemicals, there are a number of pesticides available for controlling slugs.
Step 3: Harvesting Your Peas
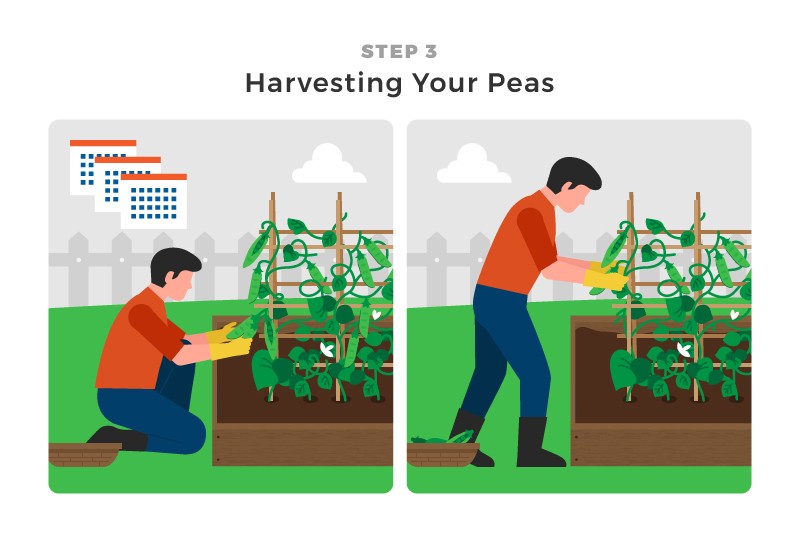
Your peas will be ready around three months after planting. It’s easy to tell when they are ready for harvesting as the pods will be visibly swollen with peas.
When harvesting, start by picking the pods closest to the bottom of the plant and work your way up, as the lowest pods are the most mature. Also, remember to check under the plant’s foliage as some pods may be well hidden.
Peas are at their best when freshly picked and used straight away. Nevertheless, if you do need to store them, they will keep for about a week in the salad box of your fridge.
Final Thoughts
Now that you know how simple it is, hopefully you’re ready to give growing peas a go for yourself. They make a great, healthy snack when eaten raw, or you can simply cook them like you would store-bought peas.
If you don’t have one already, this could even be the start of your own vegetable garden. See for yourself how rewarding growing your own produce can be.
100% Heirloom/Non-Hybrid/Non-GMO, Seeds Now are full supporters of Safe Seed Pledge.
All seeds are pure heirloom non-hybridized varieties free from genetic engineering.